How to Fix a Sticky Guitar Neck: A Step-by-Step Guide
Thanks for checking out the blog! Today I am going to walk you through a simple, low-cost maintenance fix that will breathe brand new life into an old instrument: how to safely eliminate that frustrating, sluggish stickiness on the back of your guitar neck.
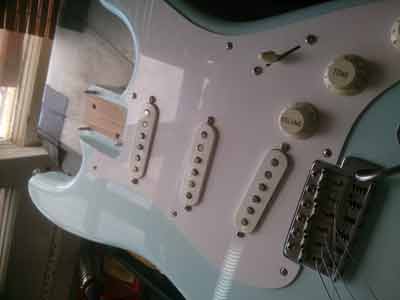
We've all been there. After years of heavy playing, my trusty Sonic Blue Fender Stratocaster had gradually fallen down the ranks of my collection. It wasn't because it sounded bad, but simply because it just wasn't fun to play anymore. The back of the neck had become incredibly sticky, grabbing at my thumb during position shifts. Before I knew it, months had passed without me picking it up.
Naturally, my ongoing guitar obsession began looking for a replacement. I started leaning heavily toward buying a gorgeous new sonic blue Reverend guitar to fill the void. (If you're currently wrestling with similar gear temptations, check out my "Should I Buy a New Guitar?" infographic here.)
But as I sat online admiring the Reverend, I looked up at the wall and saw my old Strat staring sadly back at me. It felt like an intervention. I knew I couldn't just give up on an old friend without trying to fix the issue first.
Now, I don't claim to be the world's number one guitar tech. When it comes to complex modifications, I leave it to the professionals. So, I called up the absolute best and friendliest guitar guy in Sydney, Les Rankin, to ask for advice. Knowing my usual level of mechanical hopelessness, Les laughed and said, "Bring it in, Simon. I'll fix it up for you in no time."
After watching how beautifully the neck was de-sticked, it clicked: this is absolutely something everyday players can do themselves at home with a clear guide, minimal tools, and some patience. That is exactly why I put this post together—to demystify the process for you guys and save you a trip to the repair bench!
Since sorting out the finish, it honestly feels like having a brand-new custom shop guitar on the rack. I am completely re-falling in love with one of my oldest instruments, and best of all, I saved over $800 by keeping my wallet in my pocket. Here is how you can do it yourself.
The Restoration Process
🔧 What You Will Need:
- 🧴 Shellite (lighter fluid/naphtha)
- 🪛 Screwdriver
- 🔴 Red Scotch-Brite Pad
- ⚫ Grey Scotch-Brite Pad
- 📄 600-grit Wet & Dry Sandpaper
- ⚗️ Low-tack Masking Tape
- 💪 A bit of elbow grease
Step 1: Unstring the Instrument
Detune your strings completely to relieve the tension on the truss rod, then carefully unwind and remove them entirely from the machine heads. This gives you unhindered access to the neck assembly.
Step 2: Unbolt the Neck
If you are working on a bolt-on style guitar like a Stratocaster or Telecaster, removing the neck makes this job ten times easier and safer for the body finish. Carefully remove the four neck plate screws from the back of the joint.
Step 3: Clean Away the Grime
Before making structural changes to the clear coat, pour a small amount of Shellite onto a clean rag and scrub down the entire back of the neck. This clears away years of hand detritus—sweat, oils, dirt, and dead skin—ensuring you don't rub surface contaminants directly down into the pores of the finish.
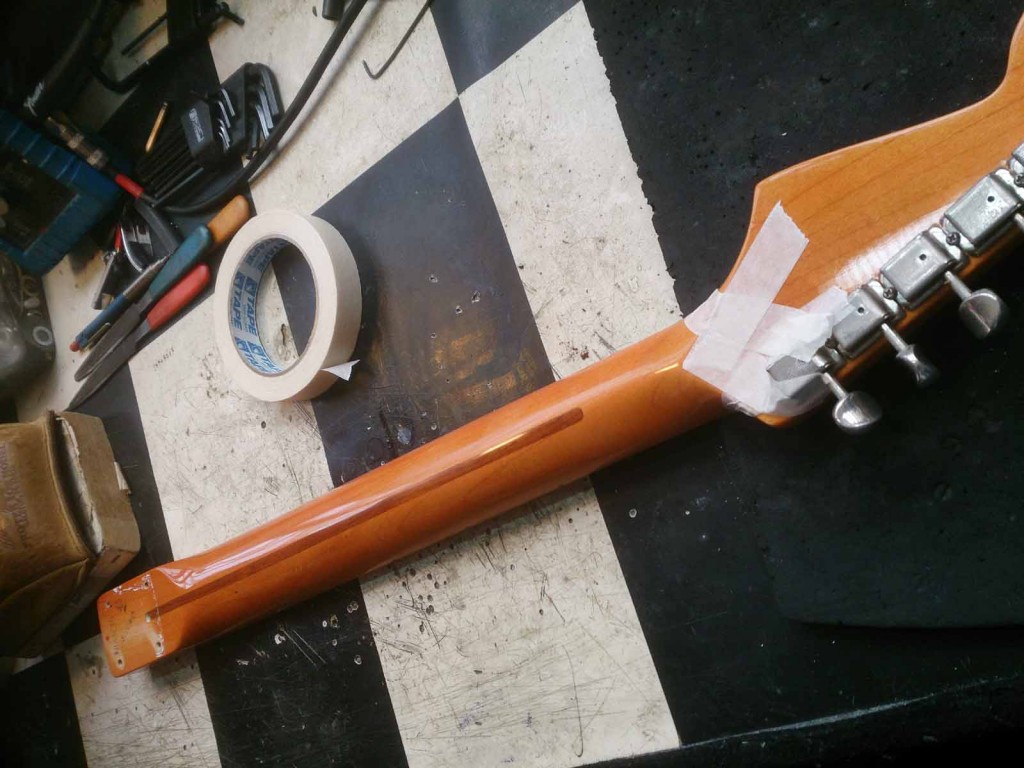
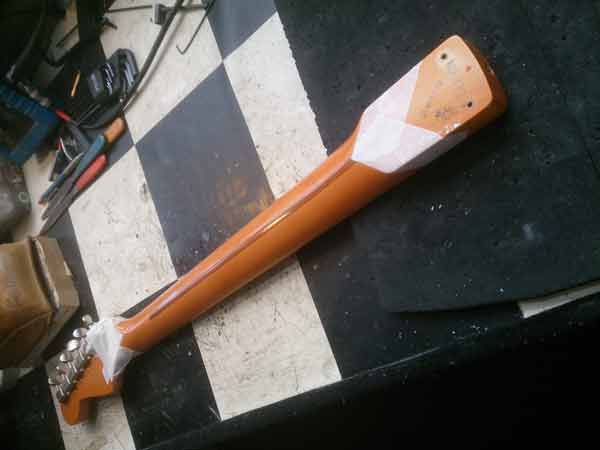
Step 4: Mask Off the Safe Zones
Use your masking tape to block off the areas you don't want to touch with abrasives. Make sure to cover the face of the headstock, any delicate serial numbers or decals, and tape a clean line right where the heel meets the body pocket layout.

Step 5: The Primary De-Glossing (Red Scotch-Brite)
It's time to break the stickiness. Grab your Red Scotch-Brite pad and begin rubbing the back of the neck using light, long, uniform strokes up and down the length of the wood. Pro-Tip: Don't push down aggressively! Let the abrasive material do the work. Your objective here is to gently scuff away the sticky, degraded outer layer of high-gloss polyurethane or lacquer.
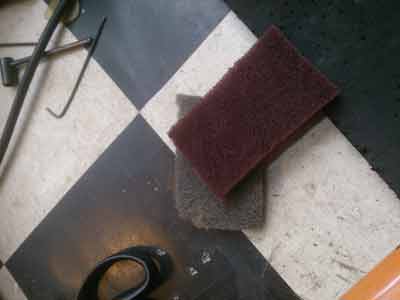
Step 6: Fine-Tuning the Satin Feel (Grey Scotch-Brite)
Wipe away the fine dust and slide your hand along the wood. How does it feel? If it still feels a bit grabby or uneven, step down to the finer Grey Scotch-Brite pad to smooth out the scratch pattern. If you are dealing with an exceptionally stubborn, thick factory gloss finish that refuses to smooth out, use your 600-grit sandpaper completely dry with ultra-light pressure until you achieve a silky satin profile.
Step 7: Reassembly
Once you are happy with the frictionless texture, peel off your masking tape and clear away any residual dust. Seat the neck back into the body pocket tightly and run the screws back in home with your screwdriver.

Step 8: Play Your 'New' Guitar
String her back up, tune up to pitch, and enjoy the effortless playability. Position transitions are smooth, and your hand won't bind up during long sessions anymore!
I hope this quick workshop walkthrough helps save your old instruments from sitting lonely on the wall racks! If you have any questions about this process or want to pitch an idea for an upcoming maintenance blog, feel free to drop me an email anytime.
Cheers,
Simon